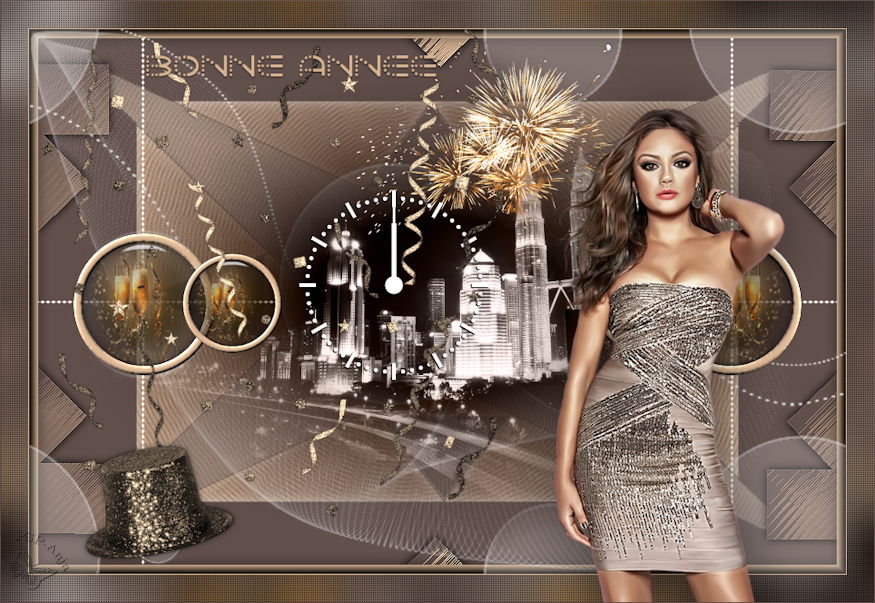
Bonne année 2022
This tutorial was
made by me with PSP2020
You can find the original tutorial
here
Filter
Filters Unlimited
The other plugins are added to the materials. Import in Filters Unlimited
***
1
Open the image "couleurs_BA2022" - these are the colors we are going to use
Foregroundcolor on color 1 and backgroundcolor on color 2
2
Open the file "canal alpha BA2022"
If you can't open the file start with a new transparent image 900 x 600 pixel and use the selections from the supplies
3
Window - Duplicate (Shift+D) - close the original and continue working with the
copy
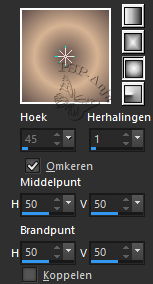
4
Floodfill your image with this fore - backgroundgradient
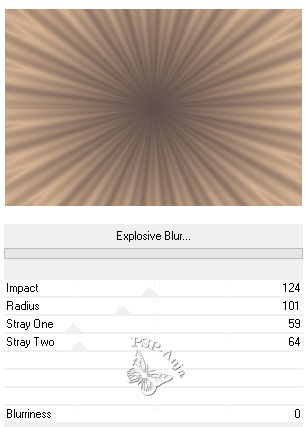
5
Effects - Plugins - Filters Unlimited - Déformations - Explosive Blur
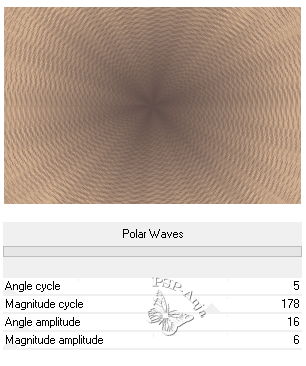
6
Effects - Plugins - Filters Unlimited - Neology - Polar Waves
7
Layers - New Raster Layer
8
Selections - Load/Save Selection - Load Selection From Alpha Channel "#1"
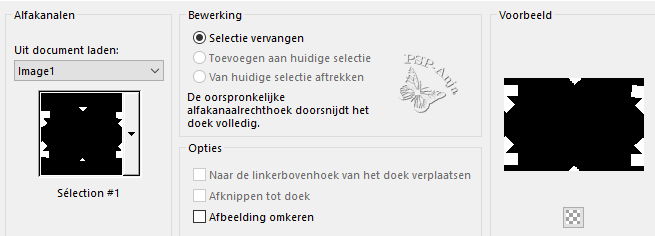
9
Floodfill the selection with your Fore - Backgroundgradient
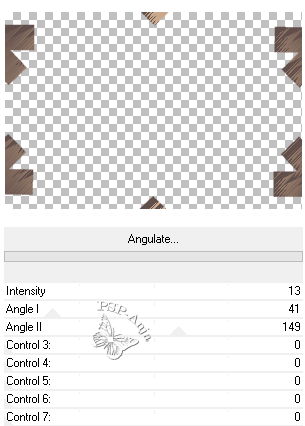
10
Effects - Plugins - Filters Unlimited - Funhouse - Angulate
11
Adjust - Sharpness - Sharpen
12
Selections - Select none
13
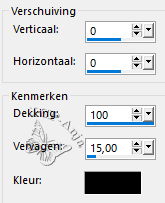
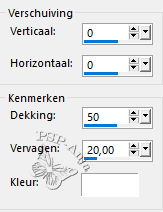
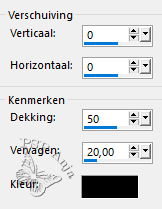
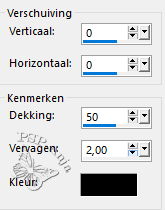
Effects - 3D Effects - Drop Shadow
14
Activate Layer 1
15
Layers - New Raster Layer
16
Floodfill the layer with color 2
17
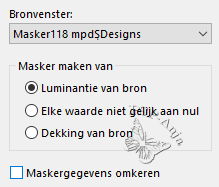
Layers - New Maske Layer - From Image
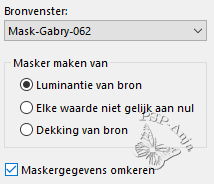
18
Layers - Merge - Merge Group
19
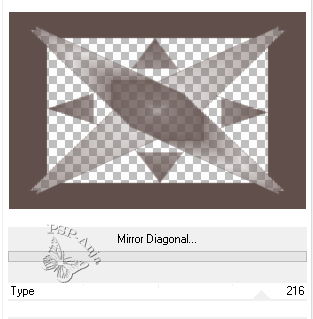
Effects - Plugins - Filters Unlimited - Mura's Seamless - Mirroir Diagonal
20
Effects - 3D Effects - Drop Shadow
21
Activate the Top Layer
22
Layers - New Raster Layer
23
Selections - Select all
24
Selections - Modify - Contract 10 pixel
25
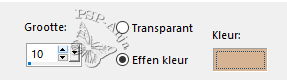
Effects - 3D Effects - Chisel (color 1)
26
Selections - Select none
27
Effects - 3D Effects - Drop Shadow
28
Layers - New Raster Layer
29
Floodfill the layer with color 3
30
Layers - New Maske Layer - From Image
31
Layers - Merge - Merge Group
32
Opacity of the layer 80%
33
Open the tube "paysage vile MM"
Edit - Copy
Activate your work
Edit - Paste a New Layer
34
Blendmode of this Layer on Luminance (Legacy)
35
Layers - New Raster Layer
36
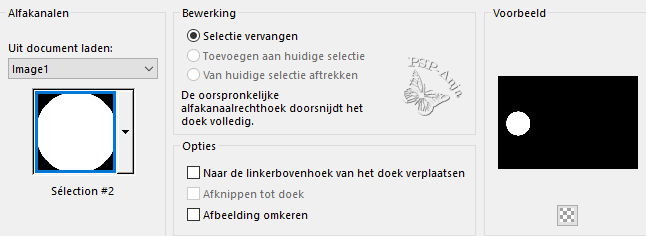
Selections - Load/Save Selection - Load Selection From Alpha Channel "#2"
37
Open the tube "JDA0003"
Edit - Copy
Activate your work
Edit - Paste into Selection
38
Open the tube "déco glass"
Edit - Copy
Activate your work
Edit - Paste into Selection
39
Layers - New Raster Layer
40
Floodfill the selection with color 1
41
Selections - Modify - Contract 10 pixel
42
Hit the delete button
43
Selections - Select none
44
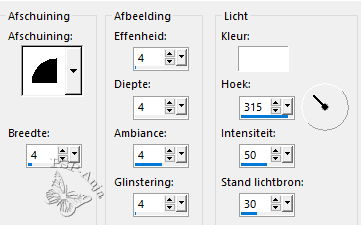
Effects - 3D Effects - Innerbevel
45
Layers - Merge - Merge down
46
Effects - 3D Effects - Drop Shadow
47
Layers - Duplicate
48
Image - Resize - 70% -uncheck All Layers
48
Don't move the tube ...
49
Layers - Merge - Merge down
51
Layers - Duplicate
52
Image - Mirror - Horizontal mirror
53
Layers - Merge - Merge down
54
Activate the Layer below (Layer 4 the misted tube)
55
Open the tube "déco 1"
Edit - Copy
Activate your work
Edit - Paste a New Layer
56
Blendmode of this Layer on Luminance (Legacy)
57
Activate the Top Layer
58
Open the tube "12283242587_divers_nikita"
Edit - Copy
Activate your work
Edit - Paste a New Layer
59
Image - Resize - 50% -uncheck All Layers
60
Move the tube to the right spot
61
Open the tube "minuit"
Edit - Copy
Activate your work
Edit - Paste a New Layer
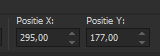
62
Pick Tool (K) - with these settings
63
Open the tube "déco 2"
Edit - Copy
Activate your work
Edit - Paste a New Layer
64
Move the tube to the left
65
Open the tube "déco 3"
Edit - Copy
Activate your work
Edit - Paste a New Layer
66
Move the tube to the left
67
Image - Add Border - 1 pixel color1
68
Selections - Select all
69
Image - Add Border - 30 pixel color 2
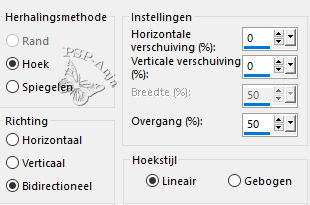
70
Effects - Image effects - Seamless tiling
71
Selections - Invert
72
Adjust- Blur - Gaussian Blur 25
73
Effects - Textureffects - Weave
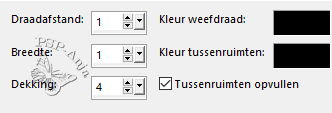
74
Selections - Select none
75
Open the tube "vio15458"
Edit - Copy
Activate your work
Edit - Paste a New Layer
76
Image - Resize - 70% -uncheck All Layers
77
Move the tube to the right spot
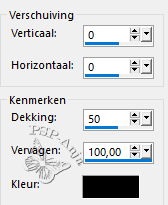
78
Effects - 3D Effects - Drop Shadow
79
Open the tube "titre"
Edit - Copy
Activate your work
Edit - Paste a New Layer
80
Move the tube to the right spot
81
Image - Add Border - 1 pixel color 2
82
Image - Resize- 950 Pixel large
83
Place your name or watermark
84
Save as JPG