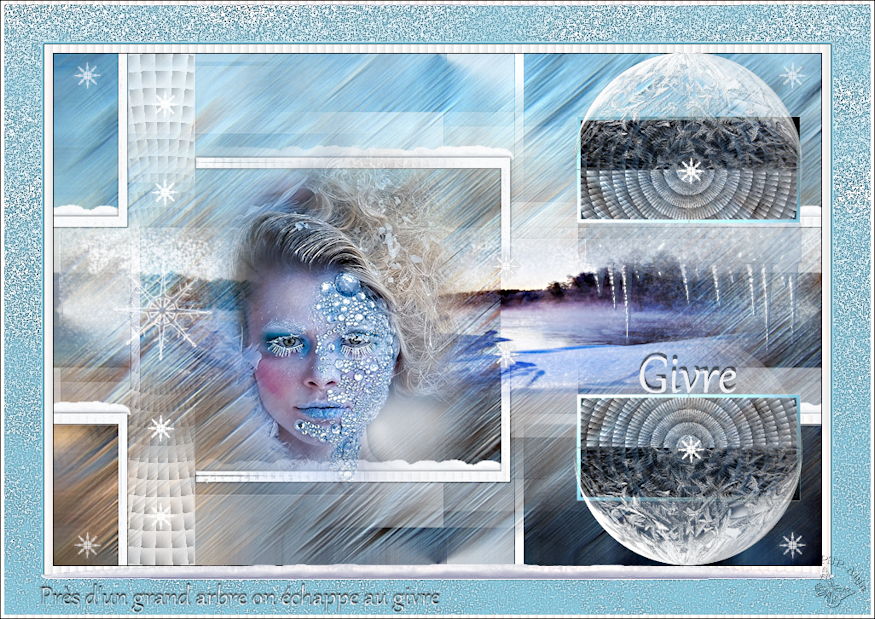
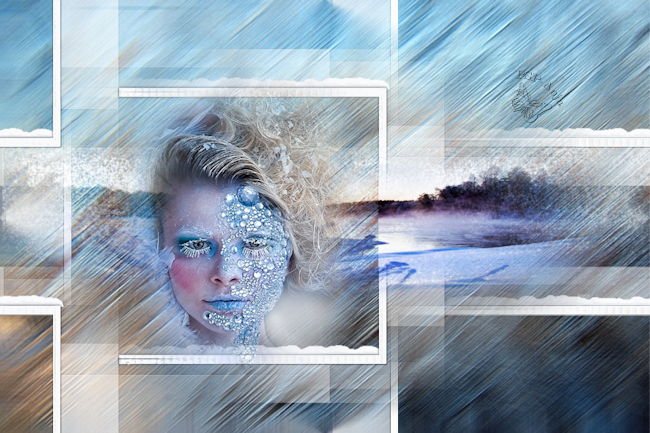
Givre
This tutorial was
made by me with PSP2020
You can find the original tutorial
here
Supplies here
Plugins
Filters Unlimited
Eye Candy 5 Nature
Mock
Oliver's Filter
Adjust (if you want to change the color)
***
1
Open the image "couleurs" - we use these colors
Foregroundcolor =
Color 1
Backgroundcolor = Color 2
2
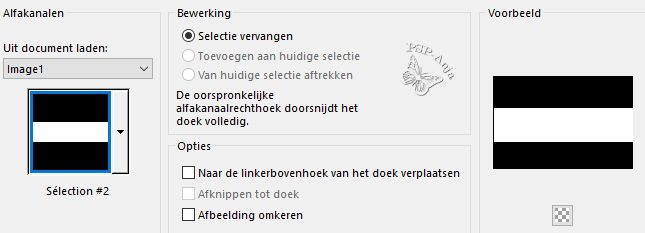
Open the file "canal alpha Givre"
If you can't open the file start with a new transparent image 900 x 600 pixel and use the selections from the supplies
3
Window - Duplicate (Shift+D) - close the original and continue working with the
copy
4
Selections - Select all
5
Open the image "mon fond Givre"
Edit - Copy
Activate your work
Edit - Paste into Selection
6
Selections - Select none
(If you want another color use Plugin Adjust - Variations)
7
Layers - New Raster Layer
8
Floodfill the Layer with Color 2
9
Layers - New Maske Layer - From Image
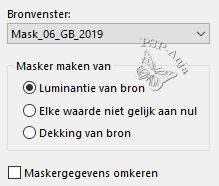
10
Layers - Merge - Merge Group
11
Selections - Load/Save Selection - Load Selection From Alpha Channel "#1"
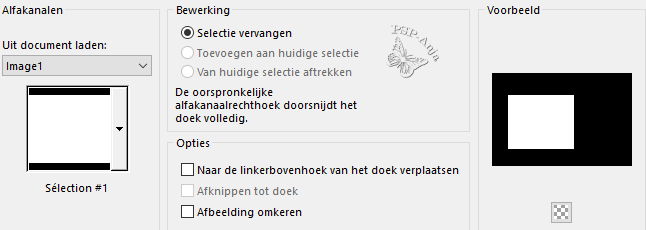
12
Press the delete button
13
Selections - Select none
14
Effects - Image effects - Seamless tiling
15
Adjust - Sharpness - Sharpen
16
Open the tube "mentali-misted526"
Edit - Copy
Activate your work
Edit - Paste a New Layer
17
Image - Resize - 75% - uncheck All Layers
18
Pick Tool (K) - with these settings
![]()
19
Activate Group - Layer 2
20
Layers - New Raster Layer
21
Selections - Load/Save Selection - Load Selection From Alpha Channel "#2"
22
Open the tube "hiver22_MM"
23
Image - Mirror - Horizontal mirror
24
Edit - Copy
Activate your work
Edit - Paste into Selection
25
Layers - Duplicate
26
Effects - Plugins - Eye Candy 5 Nature - Snow Drift - Dusting,Very Light
27
Blendmode of this Layer on overlay
28
Activate Layer 3
29
Selections - Load/Save Selection - Load Selection From Alpha Channel "#1"
30
Press the delete button
31
Activate Group - Layer 2
32
Selections - Load/Save Selection - Load Selection From Alpha Channel "#3"

33
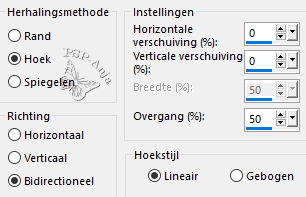
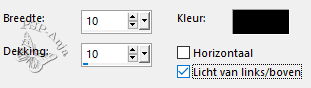
Effects - Texture Effects - Blinds
34
Adjust - Sharpness - Sharpen
35
Selections - Transform Selection into Layer
36
Effects - Plugins - Eye Candy 5 Nature - Snow Drift - Large,First Flakes
37
Effects - Image effects - Seamless tiling
38
Effects - 3D Effects - Drop Shadow
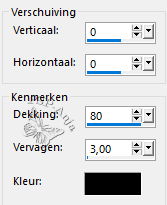
39
Selections - Select none
40
Activate Group - Layer 2
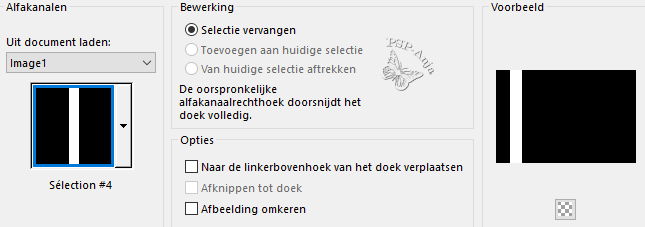
41
Selections - Load/Save Selection - Load Selection From Alpha Channel "#4"
42
Effects - Plugins - Oliver's Filter - Tunnel

43
Selections - Transform Selection into Layer
44
Selections - Select none
45
Image - Mirror - Vertikal mirror
46
Opacity of this Layer on 50%
47
Layers - Merge - Merge down
48
Activate the Bottom Layer
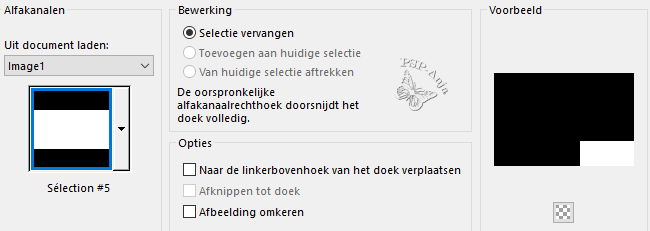
49
Selections - Load/Save Selection - Load Selection From Alpha Channel"#5"
50
Selections - Transform Selection into Layer
51
Layers - Arrange - On Top
52
Effects - Plugins - Oliver's Filter - Tunnel
53
Selections - Modify - Select Selection Borders
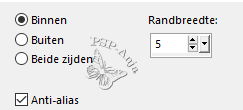
54
Floodfill the selection with Color 1
55
Effects - Plugins - Mock - Bevel
![]()
56
Selections - Select none
57
Layers - Duplicate
58
Image - Mirror - Vertikal mirror
59
Layers - Merge - Merge down
60
Image - Resize - 75% - uncheck All Layers
61
Pick Tool (K) - with these settings
![]()
62
Open the tube "déco 1"
Edit - Copy
Activate your work
Edit - Paste a New Layer
63
Move the tube as shown here
64
Layers - Arrange - Move Down
65
Image - Add Border - 1 Pixel #000000
66
Selections - Select all
67
Image - Add Border - 10 Pixel #ffffff
68
Selections - Invert
69
Effects - Texture Effects - Blinds
70
Selections - Select none
71
Image - Add Border - 1 Pixel #000000
72
Open the tube "déco étoiles"
Edit - Copy
Activate your work
Edit - Paste a New Layer
73
Pick Tool (K) - with these settings
![]()
74
Open the tube "déco cercles givre"
Edit - Copy
Activate your work
Edit - Paste a New Layer
75
Pick Tool (K) - with these settings
![]()
76
Image - Add border - 50 Pixel color 1
77
Open the tube "déco cadre"
Edit - Copy
Activate your work
Edit - Paste a New Layer
78
Open the tube "Texte et titre"
Edit - Copy
Activate your work
Edit - Paste a New Layer
79
Move the tube to his spot
80
Image - Add border - 1 Pixel #000000
81
Image - Resize - 950 Pixel large
82
Adjust - Sharpen - Unsharp Mask

83
Place your name or watermark
84
Save as JPG