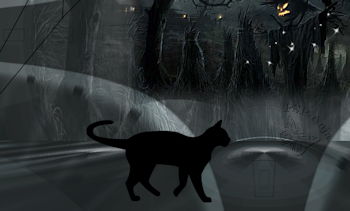
Histoires de sorcières
This tutorial was
made by me with PSP2020
You can find the original tutorial
hier
Supplies
here
Open the brush tips in PSP and export as Custom Brush
Plugins
Graphics Plus
Mura's Meister
Filters Unlimited - Filter Factory H
***
1
Open the image "couleurs" - these are the colors we are going to use
color 1 =
foreground color
color 2 = backgroud color
2
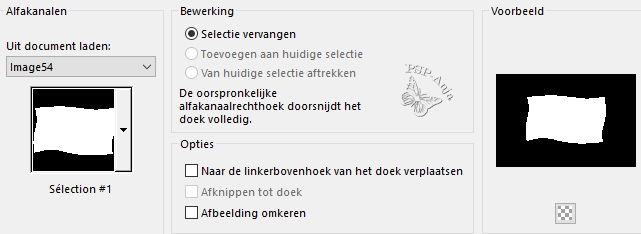
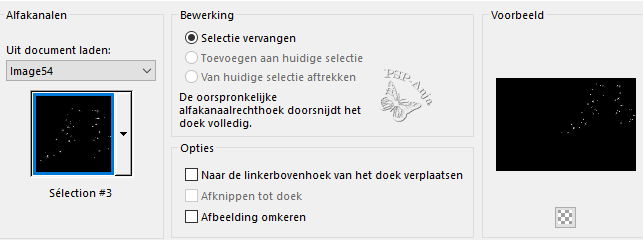
Open the file "canal alpha H. de sorcières"
If you can't open the file start with a new transparent image 900 x 600 pixel and use the selections from the supplies
3
Window - Duplicate (Shift+D) - close the original and continue working with the
copy
4
Selections - Select all
5
Open the tube "Brave Crows-VioletVixenMist"
Edit - Copy
Activate your work
Edit - Paste into Selection
6
Selections - Select none
7
Effects - Image Effects - Seamless tiling
8
Effects - Image Effects - Seamless tiling

9
Layers - Merge - Merge all layers
10
Layers - Promote Backgroundlayer
11
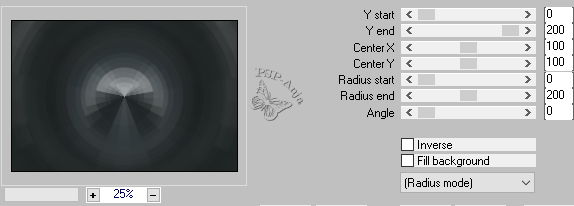
Adjust - Blur - Radial Blur
12
Adjust- Blur - Gaussian Blur - 20
13
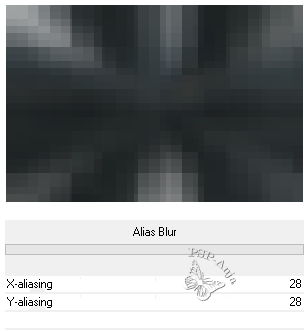
Effects - Plugins - Filters Unlimited - Filter Factory H - Alias Blur
14
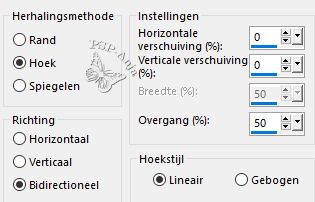
Effects - Reflexioneffects - Rotation Mirror

15
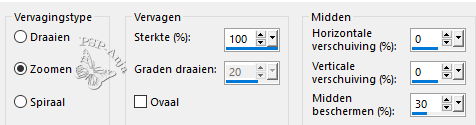
Effects - Plugins - Mura's Meister - Pole Transform
(If your colors are too bright : duplicate the layer - blendmode on multiplikation and merge the layer down)
16
Layers - Duplicate
17
Effects - Plugins - Mura's Meister - Perspective Tiling

18
Open the tube "déco2"
Edit - Copy
Activate your work
Edit - Paste a New Layer
19
Blendmode of this layer on overlay
20
Layers - New Raster Layer
21
Selections - Load/Save Selection - Load Selection From Alpha Channel "#1"
22
Open the tube "Brave Crows-VioletVixenMist"
Edit - Copy
Activate your work
Edit - Paste into Selection
(Don't close the tube because you still need it later in this tutorial)
23
Selections - Select none
24
Effects - Plugins - Graphics Plus - Emboss
25
Layers - Arrange - Move down
26
Activate the Bottom Layer
27
Layers - New Raster Layer
28
Floodfill the layer with the foreground color
29
Layers - New Mask Layer - From Image
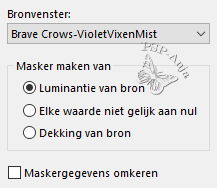
30
Layers - Merge - Merge Group
31
Adjust - Sharpness - Sharpen
32
Activate the Top Layer
33
Layers - New Raster Layer
34
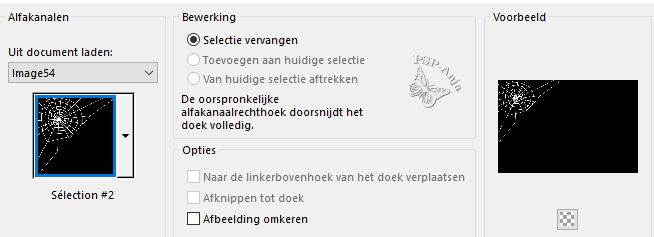
Selections - Load/Save Selection - Load Selection From Alpha Channel "#2"
35
Floodfill the selection with the background color
36
Selections - Select none
37
Layers - New Raster Layer
38
Selections - Load/Save Selection - Load Selection From Alpha Channel "#3"
39
Floodfill the selection with the foreground color ( click twice with your mouse
button)
40
Selections - Select none
41
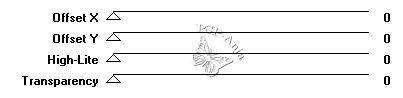
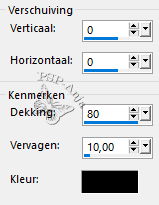
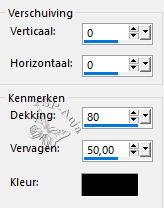
Effects - 3D Effetcs - Drop shadow
42
Layers - New Raster Layer
43
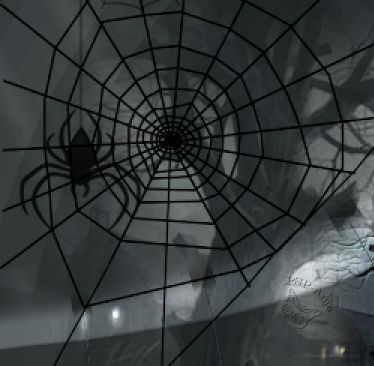
Tool Paint Brush - brush "BrushTip_araignéeMM"
![]()
44
Paint with black on your work and move the spider as shown here
45
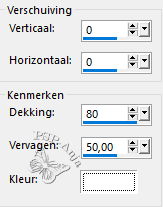
Effects - 3D Effetcs - Drop shadow
46
Layers - New Raster Layer
47
Tool Paint Brush - brush "BrushTip_gatoMM"
![]()
48
Paint with black on your work and move the cat as shown here
49
Open the tube "Riet_766_290921"
Edit - Copy
Activate your work
Edit - Paste a New Layer
50
Image - Resize - 80% -uncheck All Layers
51
Pick Tool (K) - with these settings
![]()
52
Effects - 3D Effetcs - Drop shadow
53
Activate the Bottom Layer
54
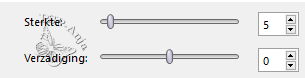
Adjust - Backgroundlight
55
Adjust - Sharpness - Sharpen
56
Activate Copy of Layer 1
57
Open de tube "texte"
Edit - Copy
Activate your work
Edit - Paste a New Layer
58
Objects- Align - Left
59
Image - Add border - 1 pixel color 4
Image - Add border - 2 pixel color 3
Image - Add border - 1 pixel color 4
60
Selections - Select all
61
Image - Add Border - 40 pixel white
62
Effects - Image Effects - Seamless tiling
63
Selections - Invert
64
Adjust- Blur - Gaussian Blur - 20
65
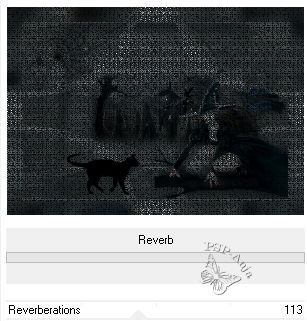
Effects - Plugins - Filters Unlimited - Filter Factory H - Reverb
66
Selections - Select none
67
Image - Add border - 1 pixel color 4
68
Image - Resize - 950 pixel large
69
Place your name or watermark
70
Save as JPG