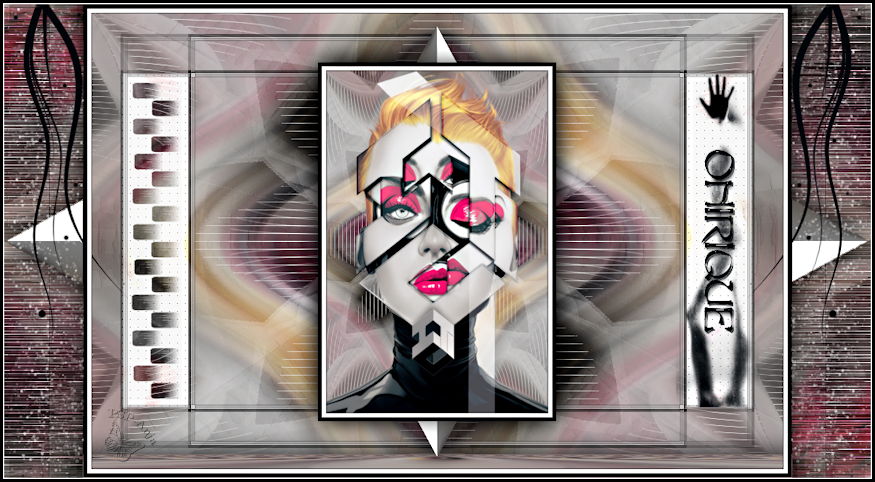
Onirique
This tutorial was
made by me with PSP2020
You can find the original tutorial
here
Supplies
here
Plugins
Filters Unlimited - Bkg Designers sf10 I / Sybia /
Harry's Button Tools
Mura's Meister
AAA Frames
AP [Lines]
Flaming Pear - Flexify 2
VanDerLee
***
1
Foreground color on #ffffff and Background color on #000000
2
Open the file "canal alpha onirique"
If you can't open the file start with a new transparent image 900 x 600 pixel nd use the selections from the supplies
3
Window - Duplicate (Shift+D) - close the original and continue working with the
copy
4
Selections - Select all
5
Open the tube "calguisartdigital11052020"
Edit - Copy
Activate your work
Edit - Paste into Selection
6
Selections - Select none
7
Effects - Image Effects - Seamless Tiling
8
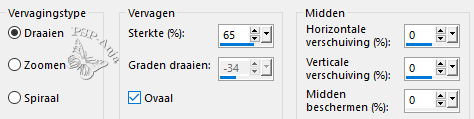
Adjust - Blur - Radial Blur
9
Layers - Merge - Merge all
10
Layers - Promote Background Layer
11
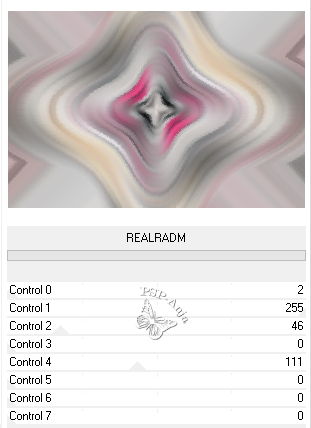
Effects - Plugins - Filters Unlimited - Sybia - REALRADM
12
Layers - New Raster Layer
13
Floodfill the Layer with #000000
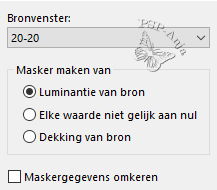
14
Layers - New Mask Layer - From Image
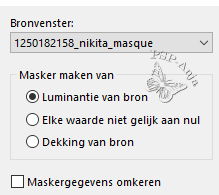
15
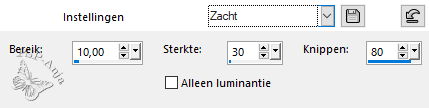
Effects - Edge Effects - Enhance
16
Layers - Merge - Merge Group
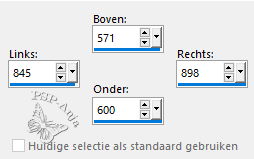
17
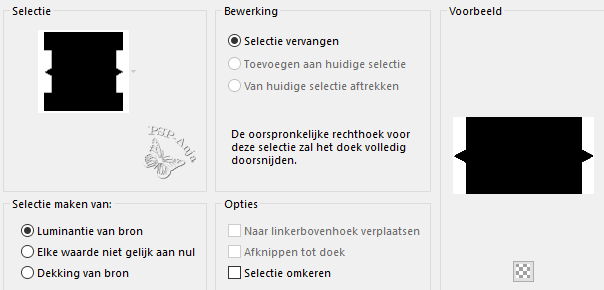
Selectiontool (S) - Custom Selection
18
Hit the Delete Button
19
Selections - Select none
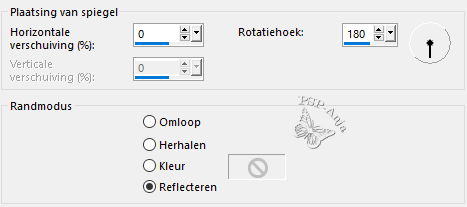
20
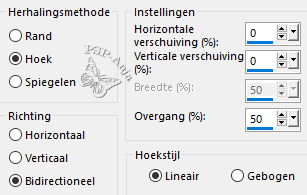
Effects - Reflection Effects - Mirror Rotation
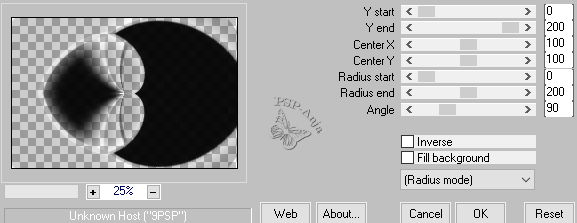
21
Effects - Plugins - Mura's Meister - Pole Transform
22
Selections - Load/Save Selection - Load Selection From Alpha Channel "#1"
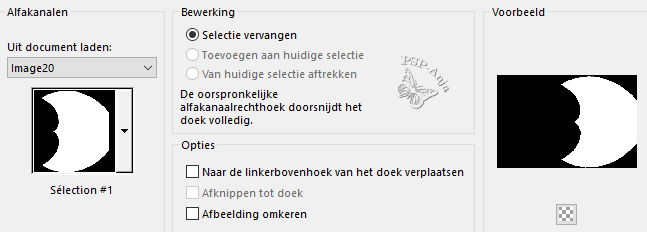
23
Layers - New Mask Layer - From Image
24
Layers - Merge - Merge Group
25
Selections - Select none
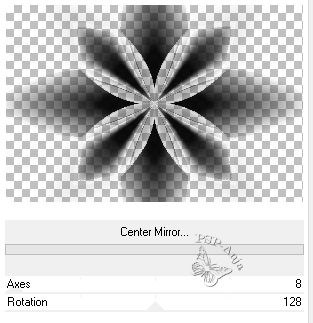
26
Effects - Plugins - Filters Unlimited - Bkg Designers sf10 I - Center Mirror
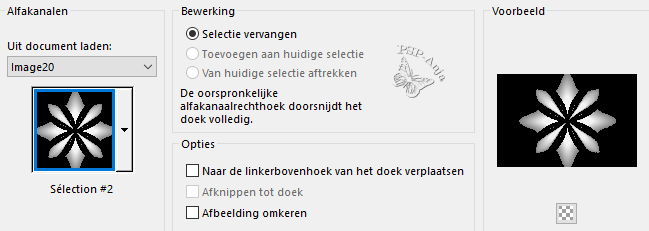
27
Selections - Load/Save Selection - Load Selection From Alpha Channel "#2"
28
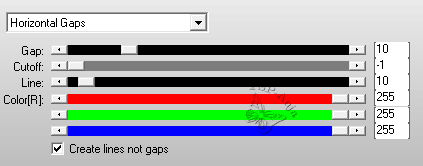
Effects - Plugins - AP[Lines] - SilverLining
29
Selections - Select none
30
Blendmode of this Layer on Overlay
31
Layers - Duplicate
32
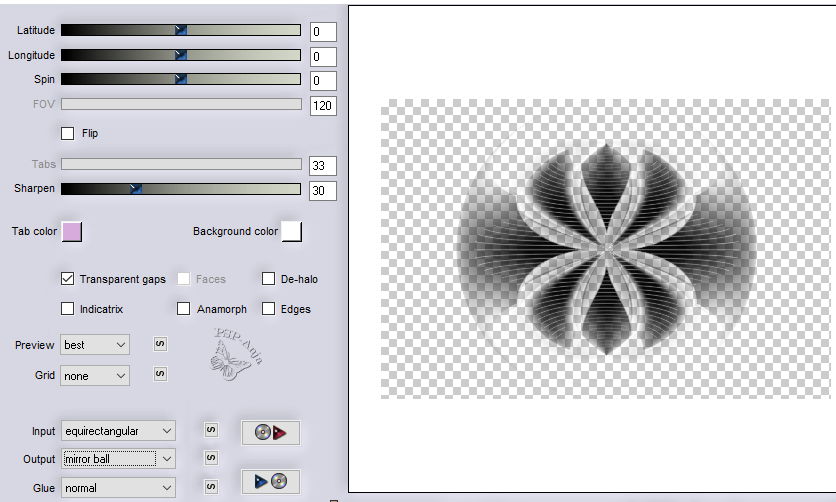
Effects - Plugins - Flaming Pear - Flexify 2
33
Effects - Image Effects - Seamless Tiling
34
Blendmode of this Layer on Soft Light
35
Adjust - Sharpness - Sharpen
36
Activate Layer 1
37
Open the tube "déco 1"
Edit - Copy
Activate your work
Edit - Paste a New Layer
38
Blendmode of this Layer on Soft Light
39
Image - Add Border - 1 pixel #000000
40
Selection - Select all
41
Image - Add Border
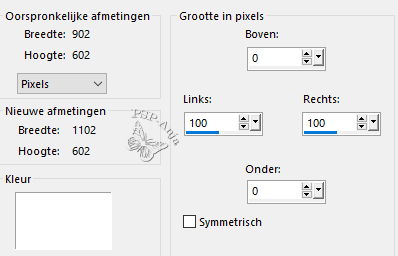
42
Effects - Image Effects - Seamless Tiling
43
Selections - Invert
44
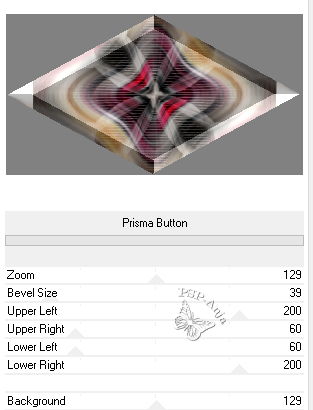
Effects - Plugins - Filters Unlimited - Harry's Button Tools - Prisma Button -
2 x
45
Selections - Select none
46
Selections - Load/Save Selection - Load Selection From Disk "onirique3"
47
Selections - Invert
48
Effects - Image Effects - Seamless Tiling
49
Selections- Invert
50
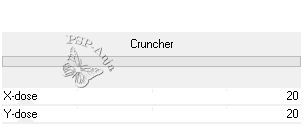
Effects - Plugins - Filters Unlimited - Bkg Designers sf10 I - Cruncher
51
Adjust - Sharpness - Sharpen
52
Selection - Invert
53
Effects - 3D Effects - Drop Shadow

54
Selections - Turn selection into Layer
55
Selections - Select none
56
Image - Resize - 50% -uncheck All Layers
57
Image - Free rotation

58
Adjust - Sharpness - Sharpen
59
Effects - 3D Effects - Drop Shadow
60
Open the tube "cadre centre"
Edit - Copy
Activate your work
Edit - Paste a New Layer and move the tube as shown on the example
61
Select with the magic wand the centre of the frame
62
Selections - Modify - Expand 5 pixel
63
Layers - New Raster Layer
64
Open the tube "calguisartdigital11052020"
Edit - Copy
Activate your work
Edit - Paste into Selection
65
Selections - Select none
66
Layers - Arrange - Move down
67
Effects - 3D Effects - Drop Shadow
68
Activate Layer 1
69
Selectiontool (S) - Custom Selection
70
Layers - New Raster Layer
71
Floodfill the selection with #000000
72
Selections - Modify - Contract 5 pixel
73
Floodfill the selection with #ffffff
74
Selections - Modify - Contract 5 pixel
75
Floodfill the selection with #000000
76
Selectiond - Modify - Contract 1 pixel
77
Hit the delete - button
78
Selections - Select none
79
Layers - Duplicate
80
Image - Resize - 80% -uncheck All Layers
81
Effects - Plugins - Filters Unlimited - Bkg Designers sf10 I - Cruncher
82
Effecs - Edge Effects - Enhance
83
Activate Layer 1
84
Selectiontool (S) - Custom Selection
85
Selections - Turn selection into Layer
86
Adjust - Blur - Radial Blur
87
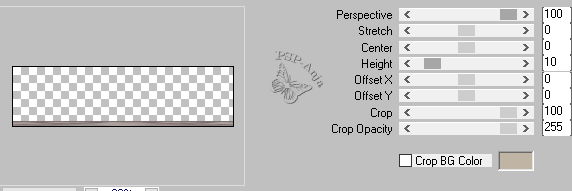
Effects - Plugins- Mura's Meister - Perspective Tilng
88
Selections - Select none
89
Effects - 3D Effects - Drop Shadow
90
Selections - Load/Save Selection - Load Selection From Disk "onirique3"
91
Hit the delete - button
92
Activate the Bottom Layer
93
Selections - Turn selection into Layer
94
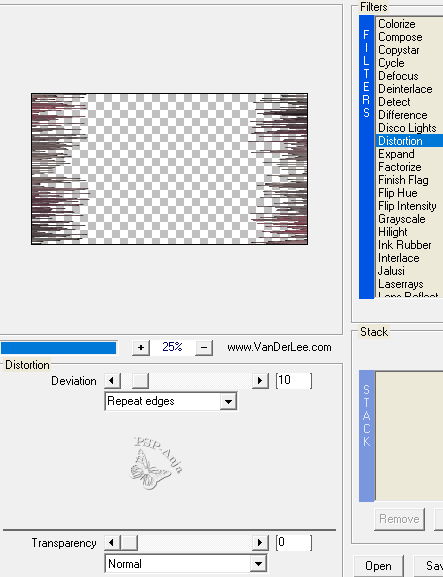
Effects - Plugins - VanDerLee - Unplugged-X
95
Selections - Select none
96
Blendmode of this layer on Hard Light
97
Open the tube "déco 2"
Edit - Copy
Activate your work
Edit - Paste a New Layer
98
Open the tube "déco 3"
Edit - Copy
Activate your work
Edit - Paste a New Layer
99
Blendmode of the Layer on Overlay
100
Activate the Top Layer
101
Open the tube "texte titre"
Edit - Copy
Activate your work
Edit - Paste a New Layer
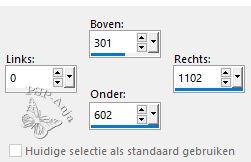
102
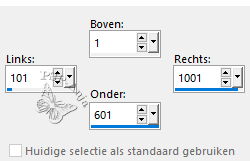
Selectiontool (K) - with these settings
![]()
103
Image - Add Border - 5 pixel #000000
104
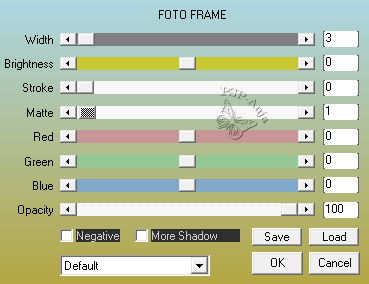
Effects - Plugins - AAA Frames - Foto Frame
105
Place your name or watermark
106
Image - Resize - 950 pixel large
107
Adjust - Sharpen - Unsharp Mask
108
Save as jpg